Creation of a Scheduled Task for Windows Server with Hyper-V
- Creation of a Scheduled Task for Windows Server with Hyper-V for the Hyper-V datacollector
- Export and Import of scheduled tasks
Creation of a Scheduled Task for Windows Server with Hyper-V for the Hyper-V datacollector
This guide describes how to create and configure a scheduled task for the CIO Cockpit data collector for Hyper-V on a Windows Server.
1. Open the Task Scheduler
Under Windows Server, the „Task Scheduler“ program is opened. The opened window should show the main view.
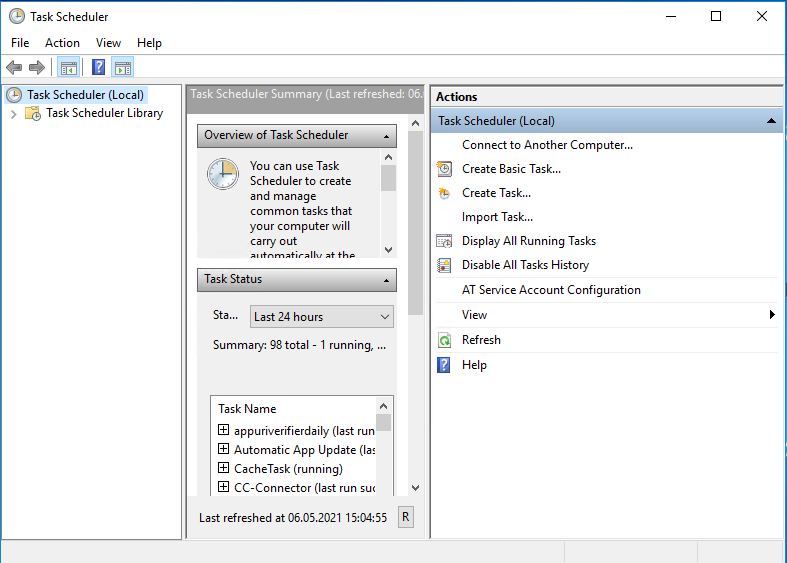
There the button „Create Task…“ is clicked.
2. Creation of the task: General section
Under the „General“ tab, the name of the task is entered under „Name“ (e.g. cc-connector).
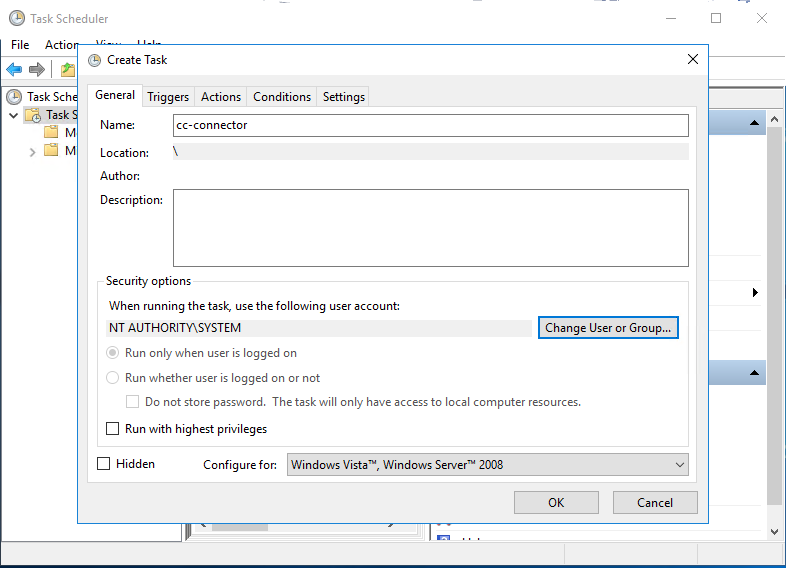
Then a user account is added under „Change User or Group…“ to run the script.
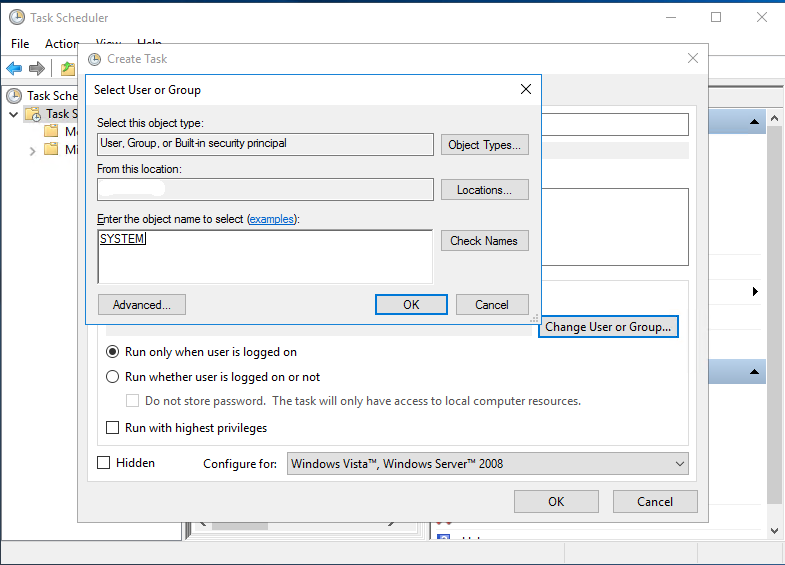
In the field „Enter the object name to select“ the name „SYSTEM“ is entered and confirmed with OK.
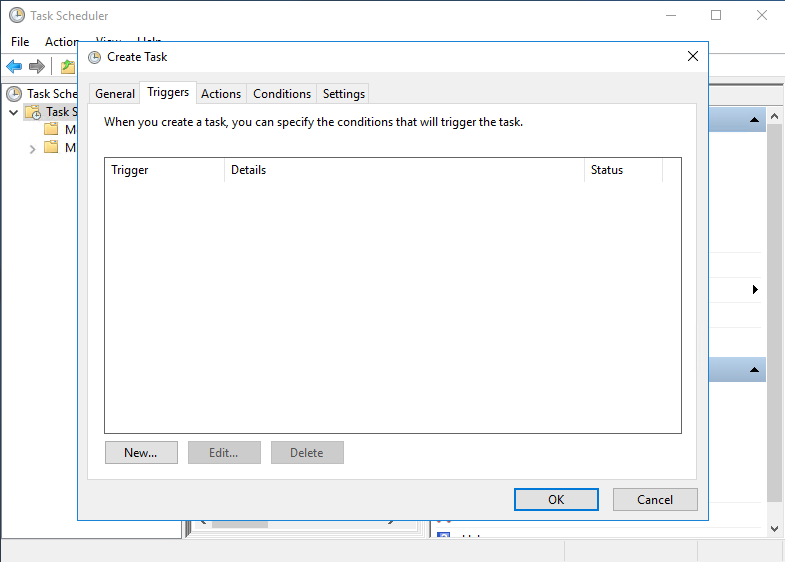
3. Creation of the task: Trigger section
Under the Triggers tab, the „New…“ button is used to create a new trigger for the task.
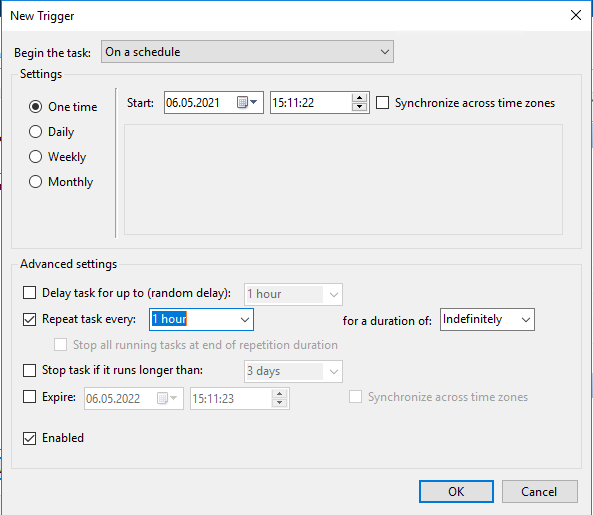
In the „Begin the task“ field, „On a schedule“ is selected. Under „Settings“ the option „One Time“ is marked and enter a start time in the near future (e.g. 10 minutes in the future). Select the checkbox „Repeat task every“, choose the interval as desired (e.g. once an hour) and for the entry „for a duration of“ select the option „Indefinitely“. Then confirm the configuration with OK.
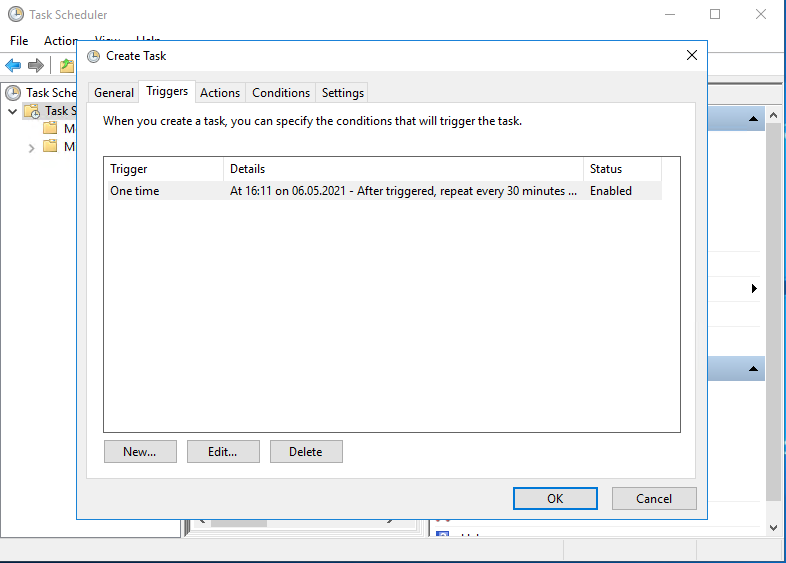
The newly created trigger should now be created as shown in the image.
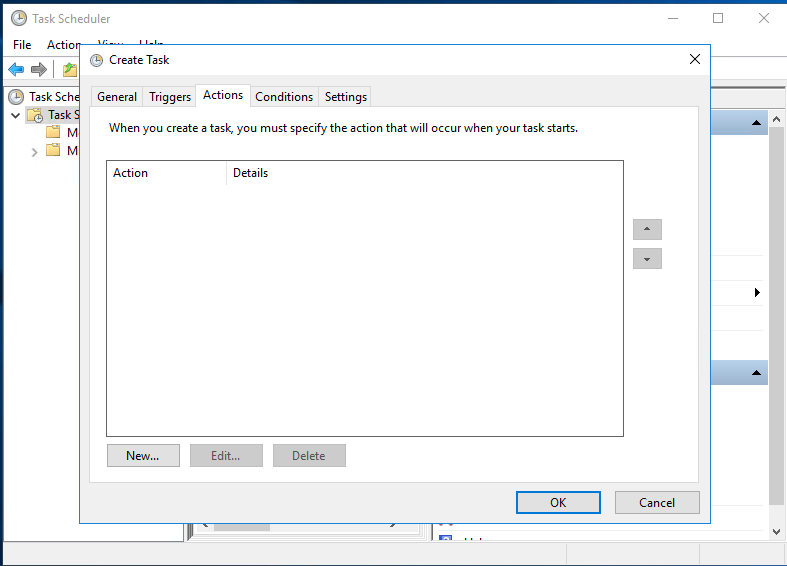
4. Creation of the task: Action section
Under the Actions tab, the „New…“ button is used to create a new action for the task.
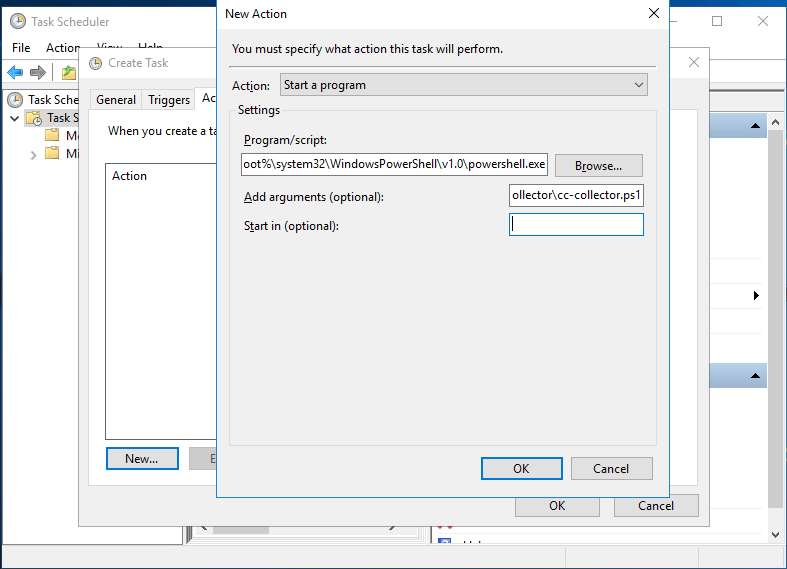
In the „Action“ field, „Start a program“ is selected. Under „Settings“ in the field „Program/script“ the path to Microsoft PowerShell is entered: %SystemRoot%\system32\WindowsPowerShell\v1.0\powershell.exe
Under „Add arguments“ an argument for executing a script is stored according to the following scheme:
-ExecutionPolicy Bypass -WindowStyle Hidden -file \data\path\to\the\script.ps1
Then confirm the configuration with OK.
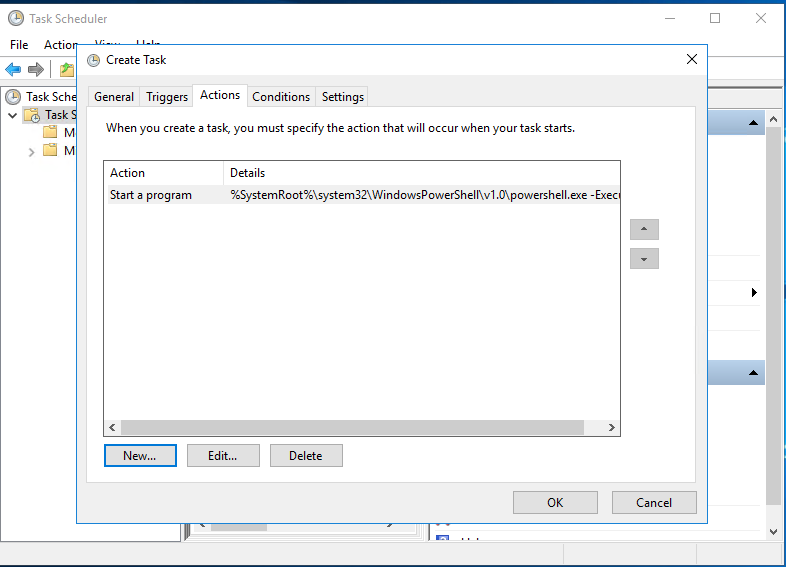
The newly created action should now be created as shown in the image.
Export and Import of scheduled tasks
A scheduled task can be exported and imported in the main view of the „Task Scheduler“ program. Select the task for export. The „Export“ option appears in the „Actions“ sidebar. Click on it and select a storage location. To import, click on the „Import Task“ option in the „Actions“ sidebar and select a storage location.